Passport photos — one of those small but essential things that can make or break your travel plans. Whether you’re applying for your first passport or renewing an old one, you’ll need a perfect 2×2 photo that meets government requirements. But here’s the big question: Should you take it yourself using the us passport photo tool or pay a pro?
2×2 Passport Photos
A 2×2 passport photo refers to a photo with dimensions of exactly two inches by two inches, forming a perfect square. This size is the official standard required by the U.S. Department of State for passport applications and many visa applications as well. It is critical that the photo meet these size specifications because they are designed to fit uniformly on official documents, enabling automated scanning and verification processes. Because passports and visas are government-issued documents, the size and format of the photo must adhere to strict guidelines to avoid delays or rejections during the application process.
Official Requirements by the U.S. State Department
The U.S. State Department enforces strict regulations to ensure all passport photos meet uniform standards. These requirements are designed to provide a consistent image quality for identity verification and security checks. Here are the key requirements that must be met for any passport photo submitted:
- Must be exactly 2 inches by 2 inches in size.
- Background must be plain white or off-white with no shadows, textures, or patterns.
- The photo must be a full-face, front view of the applicant with a neutral expression (no smiling or frowning).
- The photo must have been taken within the last six months to accurately represent the applicant’s current appearance.
- No shadows should appear on the face or background.
- No hats, glasses, or other accessories that obscure the face unless medically necessary.
- Digital photos must have a resolution of at least 300 dots per inch (dpi) for clarity.
Meeting these requirements helps ensure your passport photo will be accepted without complications. Failure to comply with any of these standards often results in rejection, meaning the application could be delayed or denied.
Why Size Matters in Passport Photos
The size of the passport photo is not just about the outer dimensions but also about how the face fits within the frame. The U.S. State Department mandates that the applicant’s head, measured from the bottom of the chin to the top of the head (including hair), should be between 1 inch and 1 3/8 inches in height. This ensures that facial features are neither too small nor too large within the photo, maintaining a clear, recognizable image.
If the head is too large or too small, it can cause problems with the automated facial recognition systems and make it difficult for passport officials to verify identity. This size standard also guarantees consistency across all passport photos, providing a uniform format that makes processing more efficient. Thus, paying attention to both the overall photo size (2×2 inches) and the correct head size within that photo is essential to prevent your photo from being rejected.
DIY Passport Photos – Can You Do It Yourself?
Taking your own passport photo at home is certainly possible, but it requires careful attention to detail and the right tools. Many people try DIY passport photos to save money and avoid extra trips to professional photo studios. However, while the process is convenient and can be cost-effective, it comes with risks. Without proper setup and knowledge of official requirements, there is a higher chance of submitting a photo that will be rejected, causing delays.
Smartphone or Camera
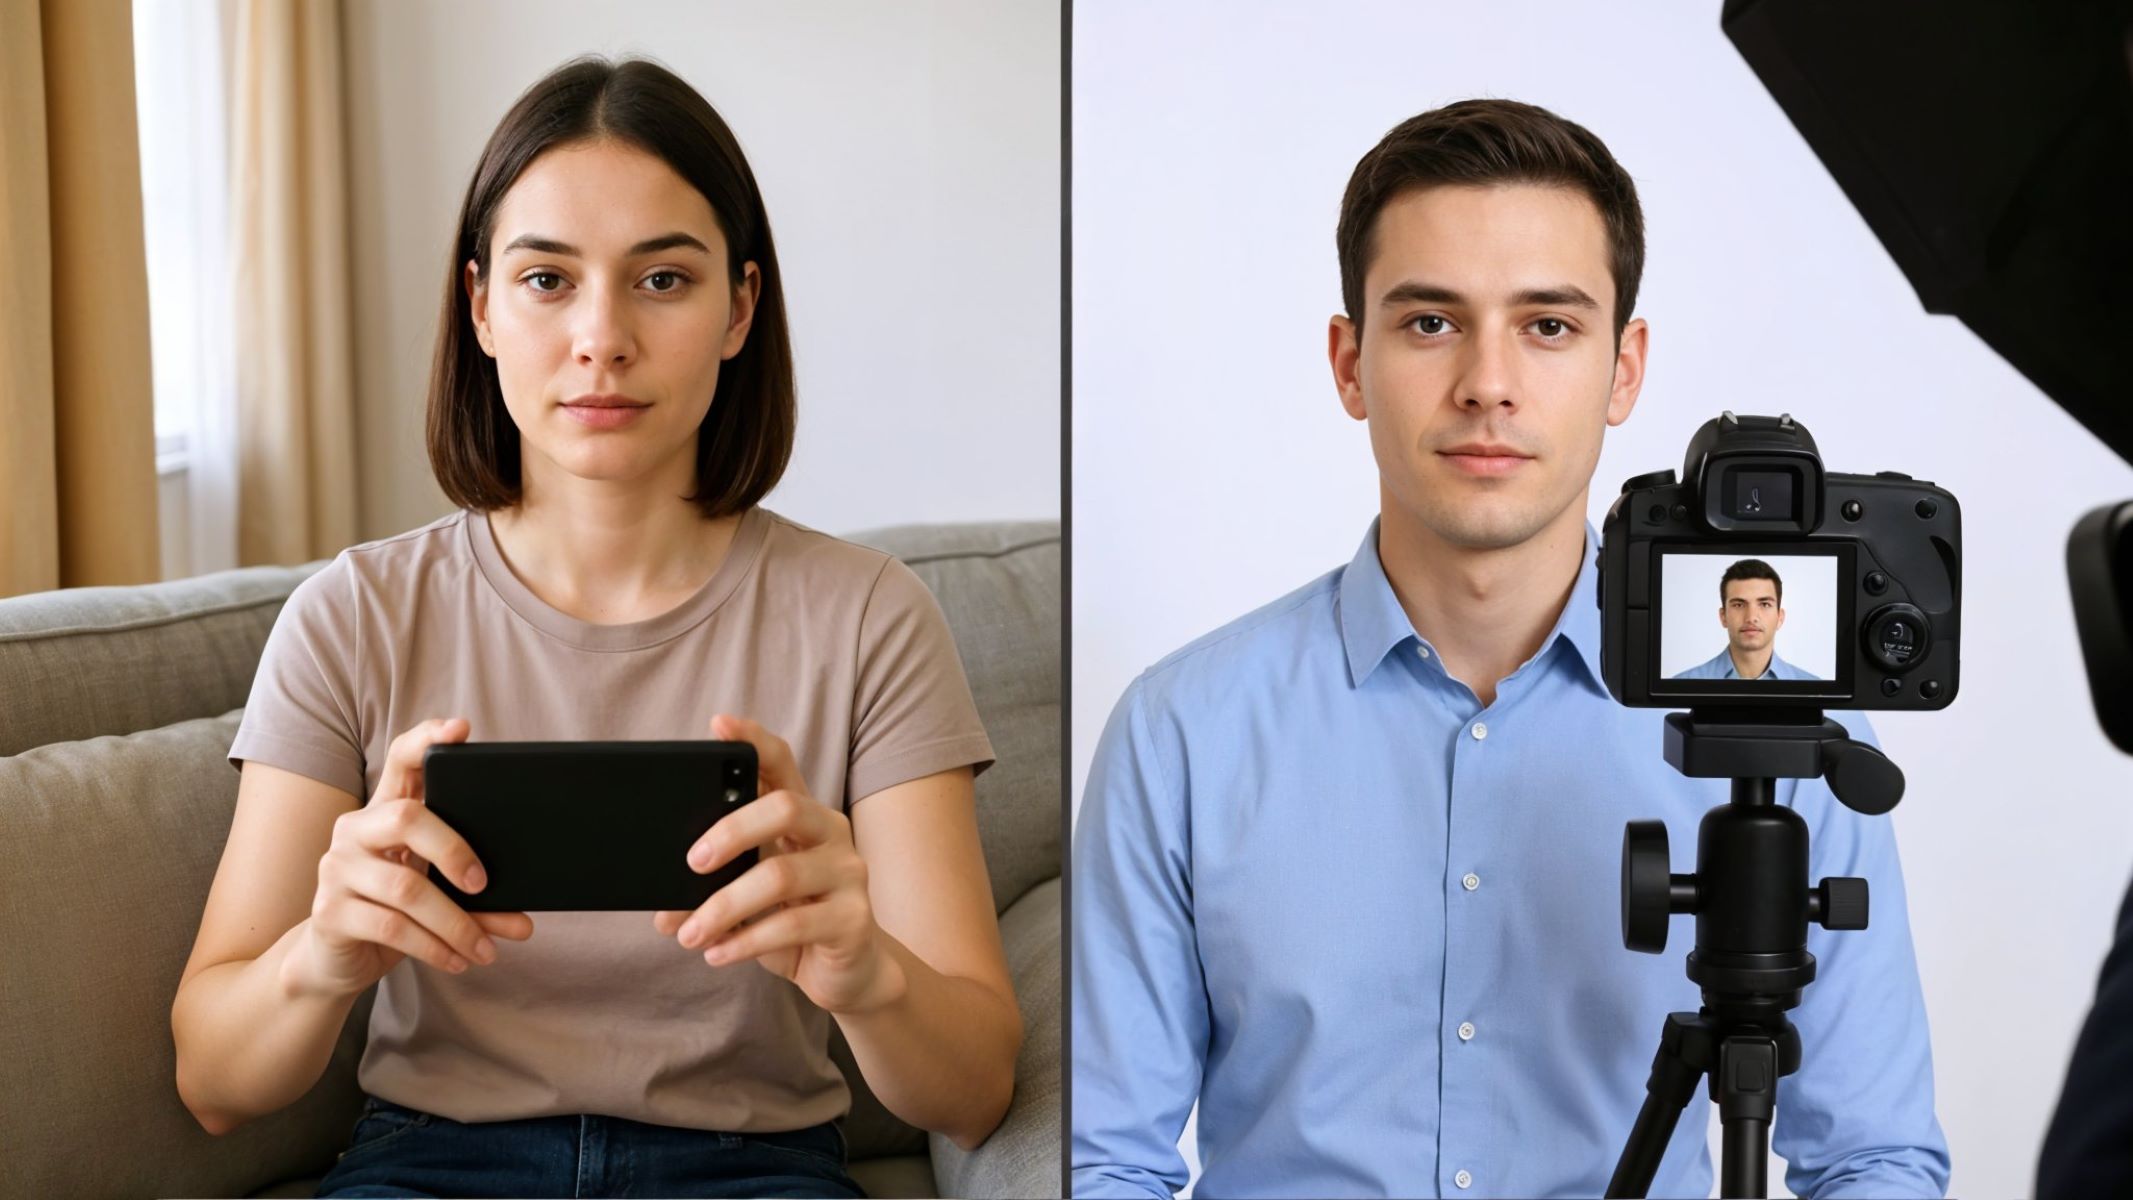
Most modern smartphones come equipped with cameras that have more than enough resolution to meet passport photo standards. However, the key is ensuring the photo is sharp, well-focused, and free of digital noise or blurriness. Using a camera with a resolution that allows for at least 300 dpi when printed or saved digitally is essential. A low-resolution or blurry photo is one of the most common reasons for rejection.
When using a smartphone or camera, it is important to avoid zooming in or using filters that alter the image. The camera should be held steady at eye level, with the subject facing straight into the lens. It is usually best to have someone else take the photo rather than using a selfie to maintain proper framing and focus. Also, ensure that the lighting is sufficient to avoid shadows and overexposure, which can distort facial features.
White Background
One of the most critical requirements for passport photos is a clean, white or off-white background. This background must be plain with no shadows, patterns, or objects that could interfere with the image. A cluttered or colored background will cause the photo to be rejected. The white background ensures that the subject’s face stands out clearly, allowing for easier identification.
To create an appropriate background at home, find a blank wall or hang a white sheet or poster board. Make sure the background is evenly lit and free from wrinkles or shadows. It is important to stand at an appropriate distance from the background to avoid casting shadows onto it. Using natural daylight or multiple light sources can help achieve the right level of brightness and uniformity.
Editing Software
After taking your photo, you will need to edit it to meet the exact size and formatting specifications required by the State Department. There are several apps and software options available specifically for passport photo editing. These include Passport Photo Maker, IDPhoto4You, and general photo editing software like Adobe Photoshop. These tools can help you crop the image to the precise 2×2 inch size, adjust the resolution to 300 dpi or higher, and ensure the head size is within the acceptable range.
Some apps also include automatic background adjustment features, but caution is advised when using these, as any artificial editing must not alter the natural appearance of the subject’s face. It is essential that the final photo looks natural and complies with all government requirements. Always double-check the photo after editing to make sure it meets all specifications before printing or uploading.
Using Professional Services
When it comes to passport photos, many people prefer to use professional services to ensure their photos meet all government requirements without any hassle. Professional providers are familiar with the strict standards set by the U.S. Department of State and typically use calibrated equipment to produce high-quality images. Choosing a professional service can save you time and reduce the risk of rejection due to technical errors, incorrect size, or poor lighting.
There are several common options for obtaining professional passport photos in the United States. Pharmacies such as CVS and Walgreens offer convenient walk-in services, often with a quick turnaround and a money-back guarantee if the photo does not meet standards. Photography studios provide more personalized service with greater control over lighting, background, and editing, which is beneficial if you want the highest-quality photo or need a specialized setup. Lastly, many U.S. Post Office locations also offer passport photo services, making it easy to combine photo taking with your passport application in one visit.
| Service Type | Location Examples | Advantages | Typical Cost Range |
| CVS / Walgreens | Pharmacy chains nationwide | Quick walk-in, guaranteed compliance, accessible hours | $15 – $20 |
| Photography Studios | Local professional studios | High-quality lighting and editing, personalized service | $25 and up |
| U.S. Post Offices | Many USPS locations | Convenient for simultaneous passport processing | Around $15 |
CVS or Walgreens
These nationwide pharmacy chains offer convenient walk-in passport photo services. Their staff is trained to take photos that meet U.S. State Department standards, and many locations provide a guarantee that your photo will be accepted. Because of their widespread availability and extended hours, they are a popular choice for many applicants who need a quick and reliable service. Prices typically range between $15 and $20, and the service is often completed in minutes.
Photography Studios
Professional photography studios provide the highest level of control over the photo-taking process. They use specialized lighting setups to avoid shadows and ensure even illumination. Photographers can adjust camera settings and composition in real-time to achieve the best possible result. This option is ideal for those who want a photo with exceptional quality or for applicants who might need special accommodations. Due to the added level of service and expertise, costs usually start at $25 and can be higher depending on the studio.
Post Offices
Many U.S. Postal Service locations offer passport photo services, which is convenient since you can submit your photo and application in one trip. While their service is usually more basic compared to photography studios, it ensures that the photo meets government standards. Pricing is competitive, typically around $15. However, availability may vary by location, so it is advisable to check with your local post office before visiting.


