When you’re diving into the world of online freelancing, your profile photo might seem like a small detail—but trust me, it’s way more powerful than you think. A clear, professional ID photo helps clients trust you before they even read your proposals or reviews. It’s the first impression you give, and in a world packed with freelancers, standing out visually can be a game-changer.
Requirements for Freelance Profile Photos
Before you even reach for your camera or smartphone to take a freelance profile photo, it’s important to understand what the major freelancing platforms expect from you. Platforms like Upwork, Fiverr, Freelancer.com, and others have specific rules and recommendations designed to maintain professionalism and consistency across their sites. These guidelines usually include photo dimensions, file formats, image clarity, and even content restrictions. Knowing these requirements upfront will save you time and help you avoid frustrating rejections or the need to redo your photo multiple times. For freelancers in the American market, where competition is fierce and clients expect a polished online presence, adhering to these standards is essential for making a positive first impression.
Most platforms require your photo to be clear, sharp, and professional-looking, often in a square or circular format. The minimum resolution commonly accepted is around 400×400 pixels, but higher resolution photos are better since they appear sharper and more detailed on all screen sizes, from mobile devices to desktop monitors. JPEG and PNG are the preferred file formats because they balance image quality and file size effectively. Additionally, your profile picture must not contain logos, watermarks, text, or any other distractions that can make the photo look less authentic or commercial. Lastly, platforms usually require the photo to be recent—ideally taken within the past year—so your image reflects how you currently look, building trust with prospective clients.
Image Specifications Checklist:
- Minimum resolution: Typically 400×400 pixels or higher
- Accepted formats: JPEG or PNG
- No logos, watermarks, or text overlays
- Photo must be recent (preferably within the last year)
- Clear and sharp image without pixelation or blurriness
- Professional and appropriate appearance fitting your freelancing niche
Step-by-Step Guide to Creating Your Freelance ID Photo
Step 1 – Preparing Yourself for the Photo
Your freelance profile photo is a visual introduction to potential clients, so preparation is key. Dressing appropriately sets the tone for how clients perceive your professionalism and work ethic. Think about your specific freelance field and the expectations clients might have. For example, if you’re a business consultant or financial advisor targeting American corporate clients, opt for formal or business-casual attire—clean lines, solid colors, and neat grooming can reinforce your credibility. If you’re a creative freelancer like a graphic designer or writer, a smart casual look with a friendly vibe might be more suitable. Remember, your outfit should never distract from your face but complement the image you want to portray.
Alongside dressing well, pay attention to grooming. Make sure your hair is tidy and your face looks fresh—this may mean a clean shave, well-trimmed beard, or natural makeup for women if that suits your style. Avoid heavy or flashy accessories that draw attention away from your expression. The goal is to look approachable and confident. Preparing mentally is just as important: practice your smile and posture in front of a mirror to find a relaxed, natural look. You want your photo to convey trustworthiness and professionalism without seeming stiff or artificial.
Step 2 – Choosing the Right Setting and Background
Lighting and background can make or break your freelance photo. Natural light is the best option because it creates a flattering, even illumination without harsh shadows or strange color casts. The ideal spot is near a window with soft daylight streaming in or outside on an overcast day when the clouds act as a giant diffuser. Avoid direct sunlight that can cause squinting and sharp shadows. If natural light isn’t an option, use a bright, diffuse artificial light source to mimic it, such as a ring light or a softbox.
The background should be simple and uncluttered, keeping the focus squarely on you. Neutral colors like white, beige, or soft pastels work well and look professional without competing with your face or outfit. If you don’t have access to a plain wall, tidy up your space and blur the background if your camera or smartphone allows. Avoid busy, patterned, or brightly colored backgrounds, as they can distract clients and reduce the overall professionalism of your photo. A clean background helps clients focus on your expression and makes your profile look polished and serious.
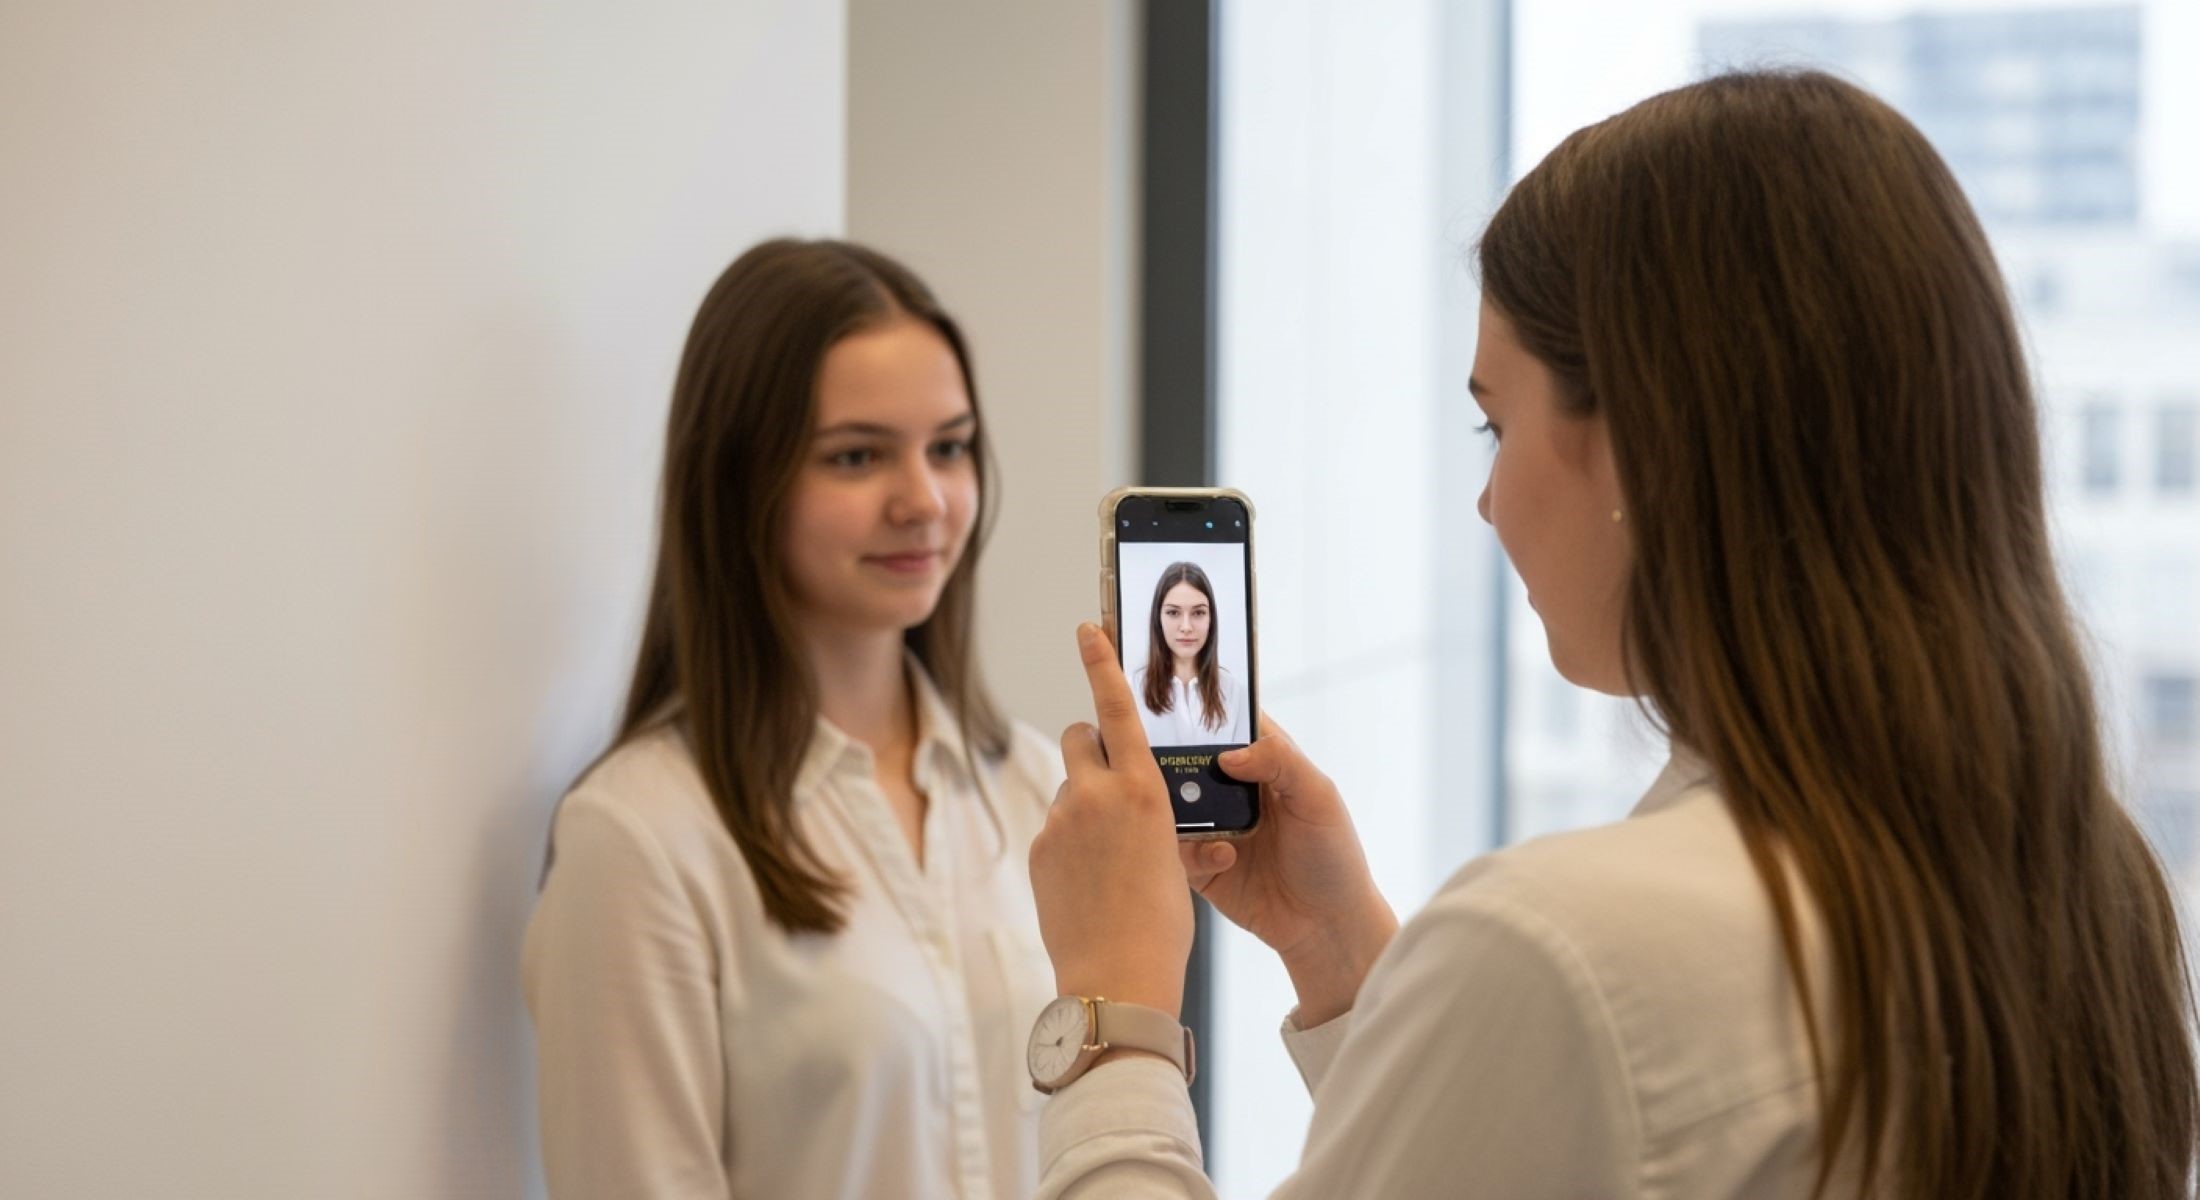
Step 3 – Capturing the Photo
Today’s smartphones are equipped with cameras capable of professional-quality photos, making it easy for freelancers to take their own ID pictures. Always use the rear (main) camera because it offers better resolution and clarity than the front-facing camera. Set your phone at eye level or use a tripod or selfie stick to prevent awkward angles that can distort your face or posture.
Frame the photo from the shoulders up, giving enough space around your head so the image isn’t too cramped or distant. Maintaining eye contact with the camera lens helps build connection with viewers. Relax your shoulders and try to smile naturally—forced smiles tend to look awkward on camera. Take multiple shots experimenting with slight changes in head tilt, smile intensity, and angle to find your best look. The more options you have, the easier it is to choose the most engaging photo.
Step 4 – Editing Your Photo for a Professional Finish
Editing your freelance photo is about subtle enhancements, not drastic transformations. Start by cropping the image to center your face properly and remove unnecessary background space. Adjust brightness and contrast to ensure your face stands out clearly without harsh shadows or washed-out areas. If your photo is slightly dull or underexposed, a small brightness boost can bring it to life.
There are plenty of user-friendly, free photo editing apps like Canva, Snapseed, or Adobe Lightroom Mobile that provide simple tools for cropping, color correction, and minor retouching. Be careful not to over-edit; heavy filters or airbrushing can make you look artificial or untrustworthy. The goal is to present an authentic but polished version of yourself, reflecting your true appearance and professionalism.
Common Mistakes to Avoid When Creating Your Freelance ID Photo
When it comes to crafting a standout freelance profile photo, certain pitfalls can seriously damage the professional image you want to project. One of the most common mistakes is using group photos or selfies that include friends or family members. Your profile picture should feature only you because clients want to connect with the freelancer directly. Including others creates confusion and reduces the photo’s impact.
Another frequent error is wearing clothes that are too casual, such as tank tops, hoodies, or anything that looks sloppy. Unless your freelancing niche calls for an ultra-casual style (for example, if you’re a gaming streamer or a very informal creative), it’s best to dress in smart casual or business-appropriate attire. Poor lighting is also a big problem; if your face is hard to see due to shadows or dim light, clients might think you’re not serious or professional. Finally, blurry or pixelated images instantly give a bad impression, as does having a distracting background cluttered with pets, objects, or anything that takes attention away from your face. Avoiding these mistakes will help your photo communicate confidence and professionalism.
| Common Mistakes to Avoid | Why It’s a Problem | How to Fix It | Notes |
| Using group photos or selfies with friends | Confuses clients; reduces professional focus | Use a solo photo only | Clear, individual headshot is best |
| Wearing overly casual clothes (tank tops, hoodies) | Looks unprofessional unless niche-specific | Dress smart casual or business appropriate | Match attire to your freelance industry |
| Poor lighting making face hard to see | Makes you look unprofessional and unclear | Use natural light or soft artificial light | Avoid shadows and harsh brightness |
| Blurry or pixelated images | Low quality reflects poorly on your professionalism | Use a good quality camera, steady hands | Edit and crop for clarity |
| Distracting backgrounds (clutter, pets, objects) | Diverts attention away from your face and message | Choose simple, clean backgrounds | Neutral colors or soft focus backgrounds |
Tips for Updating Your Freelance Profile Photo Regularly
Updating your profile photo isn’t something you do just once and forget about. A fresh, current image signals to clients that you are active, engaged, and serious about your freelancing career. Generally, it’s a good idea to update your photo every 1 to 2 years or whenever your appearance changes significantly, such as a new hairstyle or if you start wearing glasses. Keeping your photo current also helps maintain trust because clients can recognize you easily when meeting virtually or on video calls.
Regular updates give you a chance to improve the quality of your photo as you learn more about what looks best. It’s also an opportunity to subtly adjust your style to better fit your evolving brand or target market. Don’t underestimate the power of a well-timed profile refresh—it can keep your freelance profile feeling alive and attractive to potential clients.