Whether you’re applying for a job, renewing your passport, or signing up for school, ID photos are essential. They need to meet specific standards—neutral background, good lighting, straight posture, and clear facial features. Normally, you’d go to a studio or a photo booth, but what if you want to do it at home?
Getting Ready to Take Your ID Photo
What You’ll Need
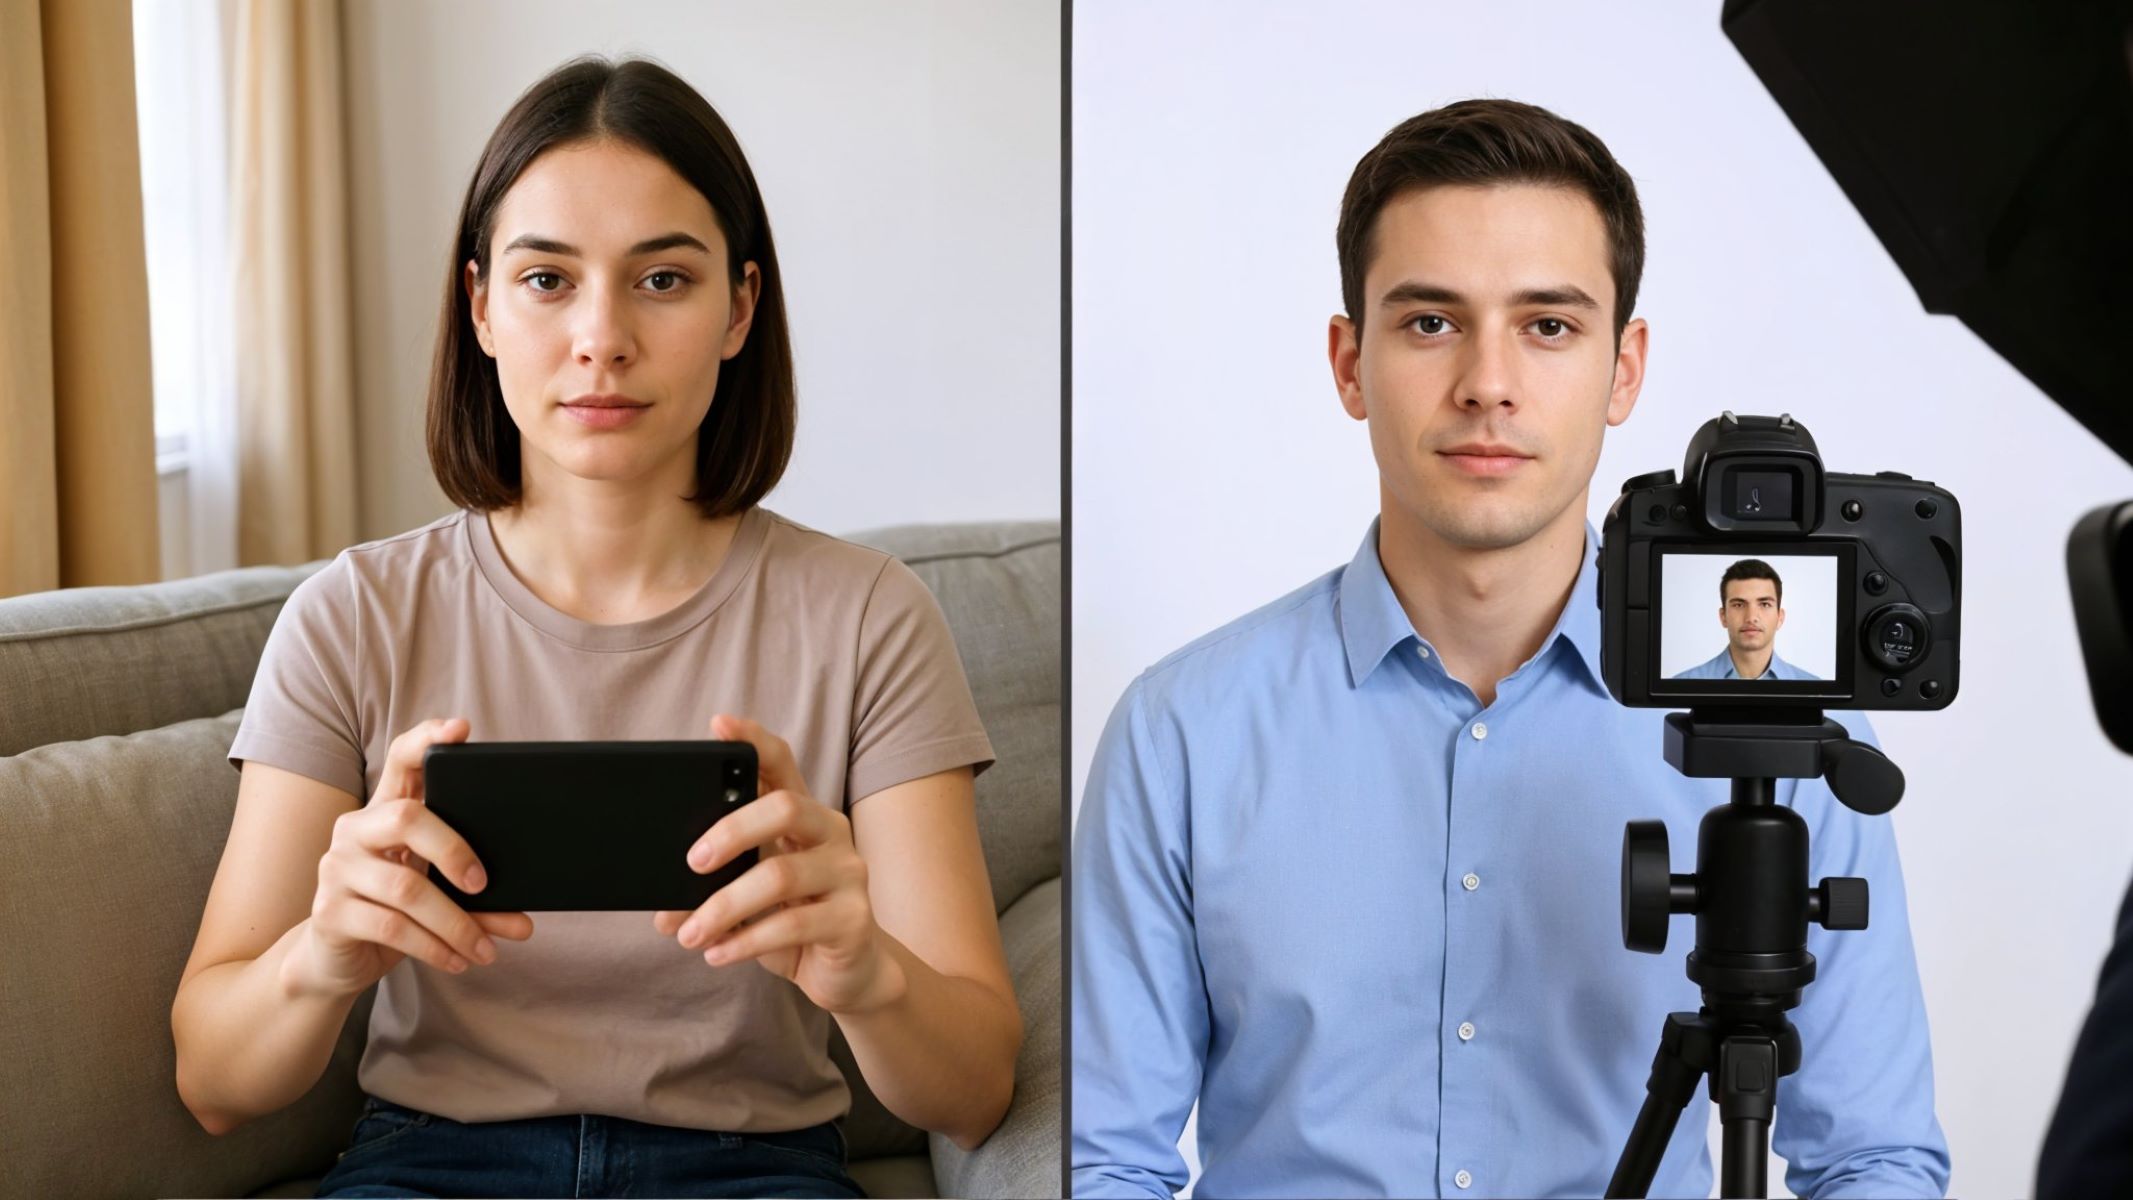
You don’t need a professional camera or high-end photography setup to take a valid ID photo. In fact, a modern smartphone with at least a 10MP camera can deliver perfectly acceptable results. iPhones and most newer Android models are more than capable of taking high-resolution pictures suitable for official identification documents in the United States, such as passports, state IDs, or driver’s licenses. Just make sure the camera lens is clean before shooting—use a microfiber cloth or gently wipe it with a cotton T-shirt to avoid smudges or blurry images.
Choosing the Right Outfit
What you wear in your ID photo matters more than you think—especially in the United States, where government-issued IDs often last 5–10 years. The best rule of thumb is to choose clothing that contrasts well with your background. If you’re using a white or light-colored sheet, wear a dark top like navy, forest green, or maroon. Avoid wearing white against a white background as it may cause your body to visually blend into the background, making the photo look unprofessional or even leading to it being rejected.
Additionally, avoid clothing with graphics, patterns, or logos, as these can be distracting and are often not allowed for official ID photos. Stick with a simple, solid-colored shirt or blouse. Collared shirts and well-fitted tops usually look most professional. Avoid strapless tops or tank tops, as they can create the illusion of being unclothed when your photo is cropped at the shoulders. Remember, you want to appear neat and formal, even if you’re just taking a photo in your bedroom.
Lighting Tips and Avoiding Shadows
Lighting is one of the most important factors for a clean, professional-looking ID photo. Soft, even light will help illuminate your facial features clearly, reduce shadows, and highlight your natural skin tone. In the U.S., passport and ID regulations require that your face be clearly visible with no harsh shadows or reflections. The ideal setup is front-facing, diffused light—this mimics the lighting you’d get in a photo studio. Natural daylight from a north-facing window is perfect, but if that’s not available, use two white LED lights placed at eye level on each side of your face.
Avoid using overhead lighting, such as ceiling lights or spotlights, as they can cast unflattering shadows under your eyes, nose, and chin. Similarly, don’t rely solely on a single lamp placed in front of you, as it can create a “flat” look with shine on your forehead or nose. If you’re using artificial lights, try placing white tissue paper or tracing paper in front of the bulbs to diffuse the light and soften any harshness. Take a few test shots and review them on your phone to check for shadows or uneven lighting before capturing your final photo.
Choosing the Right Bedsheet
Recommended Colors
The color of your bedsheet is crucial—it becomes the background of your ID photo and should be both neutral and compliant with official U.S. photo requirements. The U.S. Department of State recommends a plain, light-colored or white background for passport photos. So your best options include:
- White (Most accepted and studio-like)
- Light gray (Soft and neutral, good for contrast)
- Pale blue (Bright enough for official use and great contrast with skin tones)
Avoid using dark-colored sheets like black, navy, or deep red, as they can make the photo look too dramatic or cause your hair to blend into the background. Also steer clear of vibrant hues such as orange, lime green, or red, as these may reflect unnatural tones onto your face and are generally not accepted in government documents. And of course, skip any patterns, textures, or embroidered designs, which can distract from your face and lead to photo rejection.
Texture Matters
When selecting your bedsheet, it’s not just the color that matters—the texture plays a big role in how the background looks in your final image. Choose a matte, cotton-based sheet that absorbs light rather than reflecting it. Materials like flannel, muslin, or plain-weave cotton are excellent because they don’t cause glare or reflections. On the other hand, silky or shiny fabrics, like satin or polyester blends, reflect light unevenly. This can create strange spots or gradients in your background, which may make your photo look edited or digitally altered.
You should also avoid heavily wrinkled or textured fabrics. Even though you’re using a sheet, your goal is to make it look like a smooth, studio wall. The more uniform and smooth your background, the more professional your photo will appear. If the fabric is thin and slightly see-through, make sure the wall behind it is also a neutral tone—or double up the fabric to prevent unwanted patterns or colors from bleeding through.
How to Remove Wrinkles Easily
A wrinkled bedsheet can completely ruin the look of your ID photo. Even small creases and folds can cast shadows or lines that make your background look busy and unprofessional. To avoid this, always iron or steam your bedsheet before hanging it. If you don’t have an iron, toss the sheet in the dryer with a damp washcloth for 10–15 minutes on medium heat. Remove it immediately and hang it up flat to maintain its smoothness.
Once your sheet is wrinkle-free, use clips, thumbtacks, or heavy-duty tape to hang it flat against a wall or door. Stretch the corners tightly and smooth it out from the center to the edges. If needed, pin the sides to ensure that no folds form during setup. It only takes a few extra minutes, but this step makes a world of difference when it comes to achieving a professional, clean, studio-like background in your photo.
Setting Up Your Photo Backdrop with Bedsheets
Hanging the Bedsheet Properly
Creating a smooth and professional-looking background starts with how you hang your bedsheet. A wrinkled, sagging, or unevenly pinned sheet will immediately give away the fact that your photo was taken at home. To avoid this, use clothespins, thumbtacks, strong adhesive hooks, or even painter’s tape to secure the bedsheet to a wall, closet door, or bookshelf. Make sure to pull the sheet taut from all sides so that there are no folds, waves, or droops visible in the frame. Start by securing the top edge first, then smooth the fabric downward as you fasten the sides and bottom corners.
For best results, place the backdrop in a location where it can hang floor to ceiling or at least cover the vertical frame of your shot. If your sheet is too short or narrow, consider pinning a second sheet behind it or overlapping two to create a full background. Ensure the fabric extends beyond the edges of your camera’s field of view. Don’t forget to check the bottom part of the background too—if the sheet is only partially hanging or has visible folds near the floor, it can affect the final image when cropping.
Positioning the Camera and Lighting
Proper camera and lighting setup are crucial to producing a high-quality ID photo that meets official guidelines. Begin by placing your camera or smartphone at eye level—this helps avoid unnatural angles and ensures that your facial features are captured accurately. The camera should be around 3 to 5 feet (about 1 to 1.5 meters) away from you. Frame the shot from mid-chest to just above the head with a bit of empty space at the top, as this is the standard framing used for passport and ID photos in the U.S.
As for lighting, even and shadow-free lighting is essential. If you’re using natural light, position yourself facing a window with soft, diffused light—never shoot with the window behind you. If natural light isn’t available or consistent, use two white LED lamps placed at roughly 45-degree angles on either side of your face. This helps eliminate shadows on your face and background. Avoid relying on ceiling lights or overhead bulbs, as they can cast shadows under your eyes or nose and make the photo look harsh and unprofessional.
Tripod Alternatives You Can Use
Don’t worry if you don’t own a tripod—there are plenty of creative and effective ways to stabilize your camera at home. The key is to maintain a steady, eye-level position that won’t shake or shift during the shot. Stack sturdy books on a table or shelf to achieve the correct height, and place your phone or camera on top. You can also use a shoebox, storage container, or even a microwave box as long as the surface is level. Some people even use bookends or jars to wedge their phone in place.
| Tripod Alternative | Height Adjustable? | Best For | Stability |
| Stack of Books | Yes (add/remove) | Phones or compact cams | High stability |
| Shelf or Ledge | No | Higher shooting angles | Moderate stability |
| Phone Stand / Holder | Yes (some models) | Phones only | High (if sturdy) |
| DIY Shoebox Rig | Yes (cut-to-fit) | Phones or GoPros | Needs balance |
Whichever method you choose, make sure the phone or camera doesn’t wobble, and that you can activate the shutter either with a self-timer or remote control. If using your phone, activate the grid lines feature in the camera settings to keep your head perfectly centered in the frame.
How to Pose and Take the Perfect ID Photo
The Right Posture and Head Position
Your posture can make or break your ID photo. Government ID requirements in the United States—especially for passports, driver’s licenses, and visas—specify that you should face the camera directly with a straight back, level chin, and neutral head angle. Whether you’re standing or sitting, make sure your shoulders are relaxed but not slouched. Keep your chin parallel to the floor and make sure both ears and the full face are visible, unless otherwise specified (some documents allow slight head coverings or accessories for religious or medical reasons).
Avoid leaning, tilting your head, or turning slightly to the side—your face should be square to the camera. Imagine you’re having a conversation with someone at eye level, and stay in that posture. Your eyes should be open and looking directly into the lens. If your photo is being used for a document like a passport, the eyes must not be closed, partially covered by hair, or obstructed by glare from glasses. The official framing should capture you from the top of the shoulders to just above your head, with your head occupying about 50–70% of the photo’s height.
Neutral Facial Expression Tips
Although it may feel awkward, the U.S. State Department explicitly requires a neutral facial expression or a natural, closed-mouth smile for passport and ID photos. That means no toothy grins, no frowns, no raised eyebrows, and no dramatic expressions. Your mouth should be relaxed and closed, with your lips gently touching. The goal is to capture an image that accurately represents your natural appearance for facial recognition systems used by border control, DMV systems, and other security checks.
The best way to achieve the right look is to relax your face for a few seconds before the shot. Take a deep breath, drop your shoulders, and look straight into the lens. Practice a few poses in front of a mirror to get comfortable with your “neutral look.” If your expression seems too blank or tense, try thinking of something calming—it can help soften your features slightly without turning into a smile. Remember, it’s not about looking cheerful or photogenic—it’s about accuracy and compliance.